Before starting to work with our Accounting module, please review the following points:
Chart of Accounts: You must send us your Chart of Accounts so we can create it in the system.
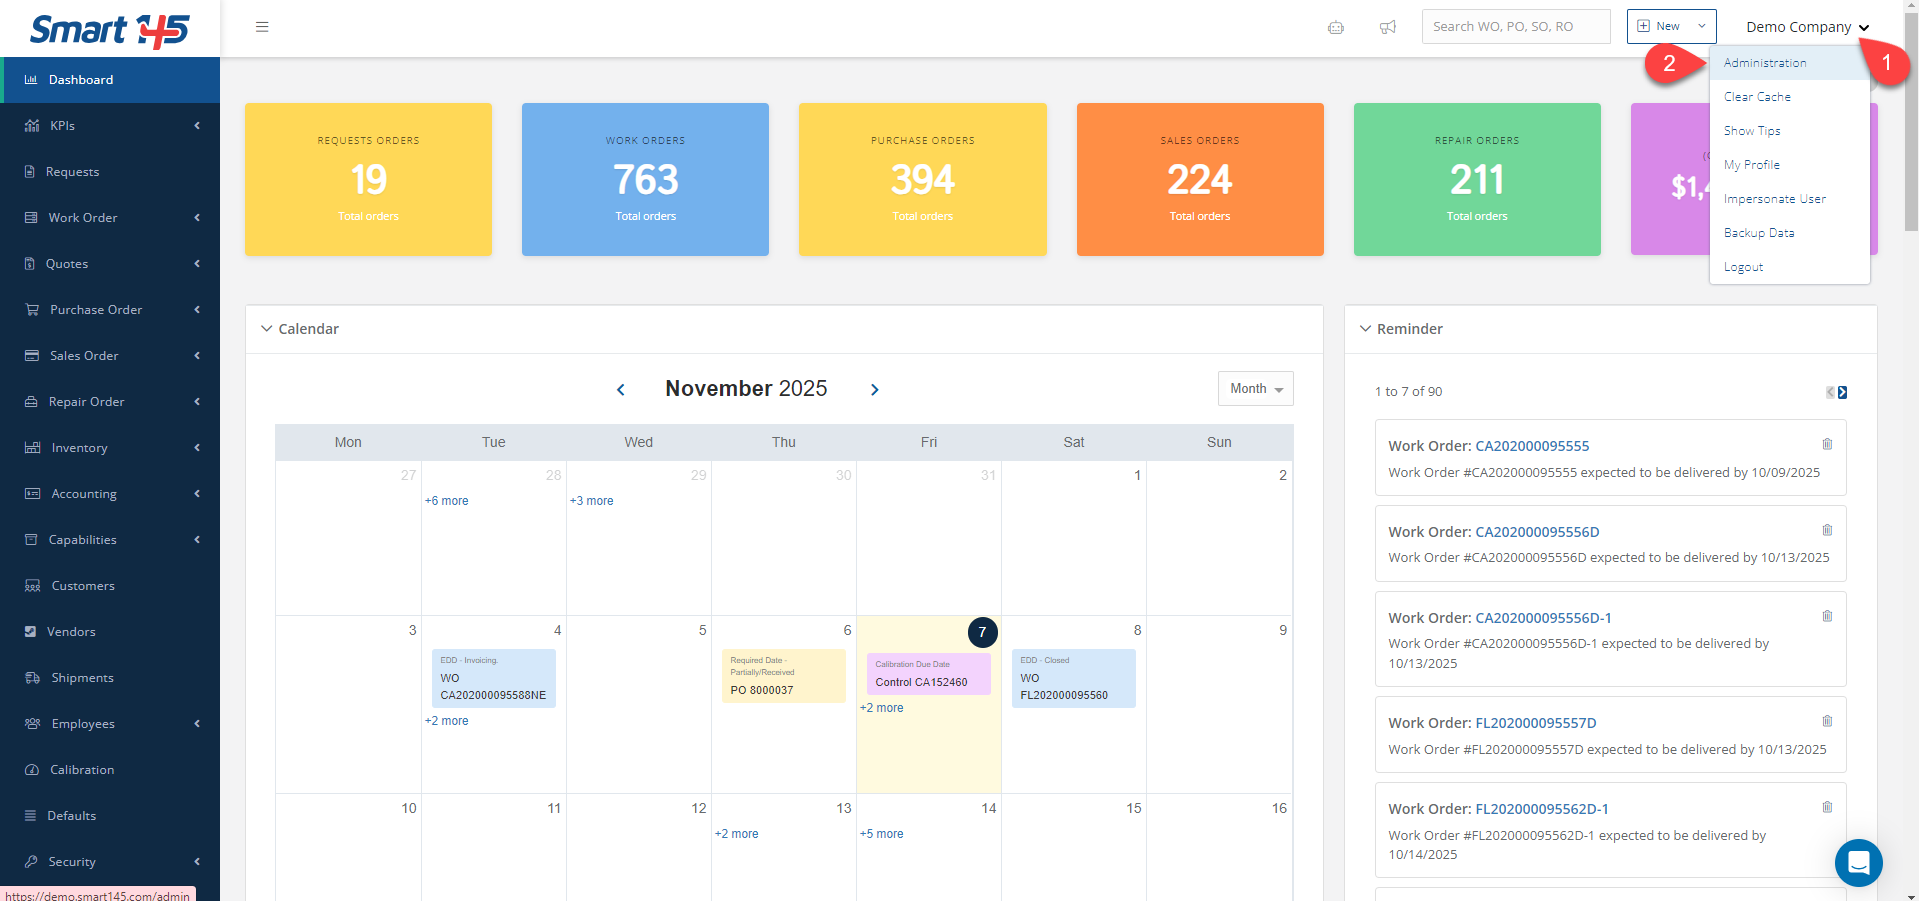
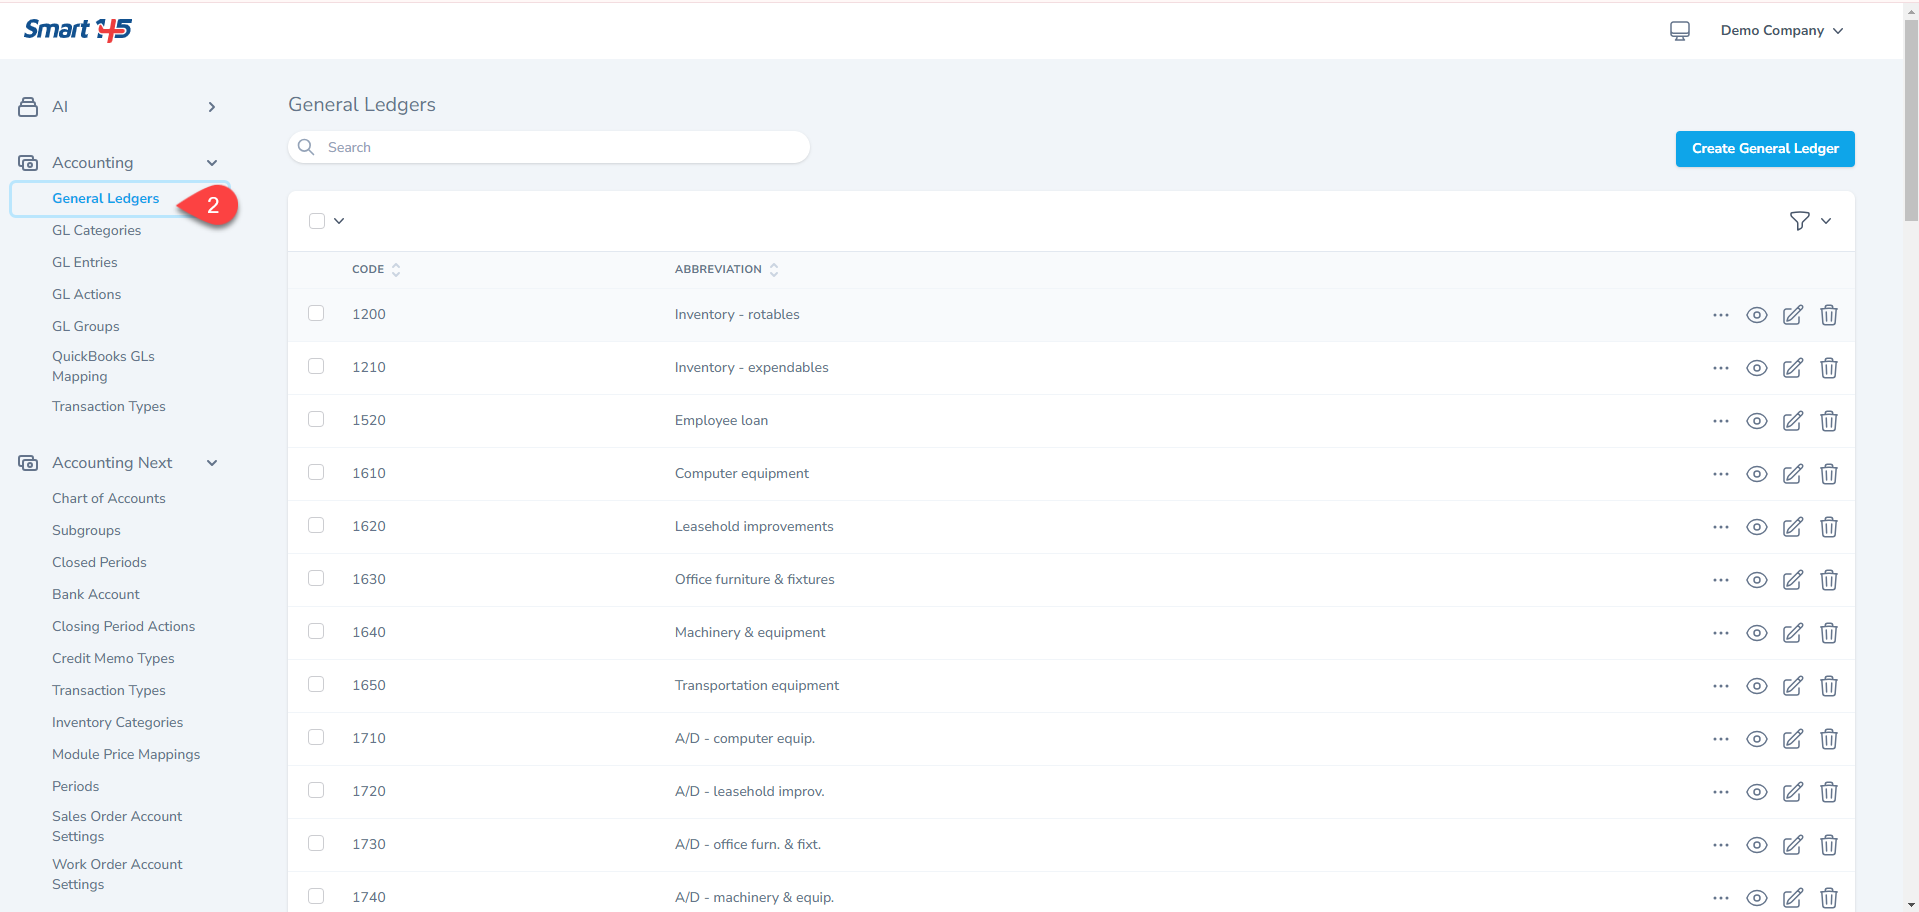
Inventory Categories You can either use our default inventory categories (listed as General Ledgers in the system) or you can send us the ones you currently use To review our default Inventory Categories, you can go to Administration → General Ledgers.
3. Payment Methods Please send us a list of the payment methods you’ll be using in the system
4. Bank Accounts
If you don't already have your Bank Accounts created in the system, or if you would like to update them, please send us the list
Once we receive this information and upload it, we can proceed to create the associations.
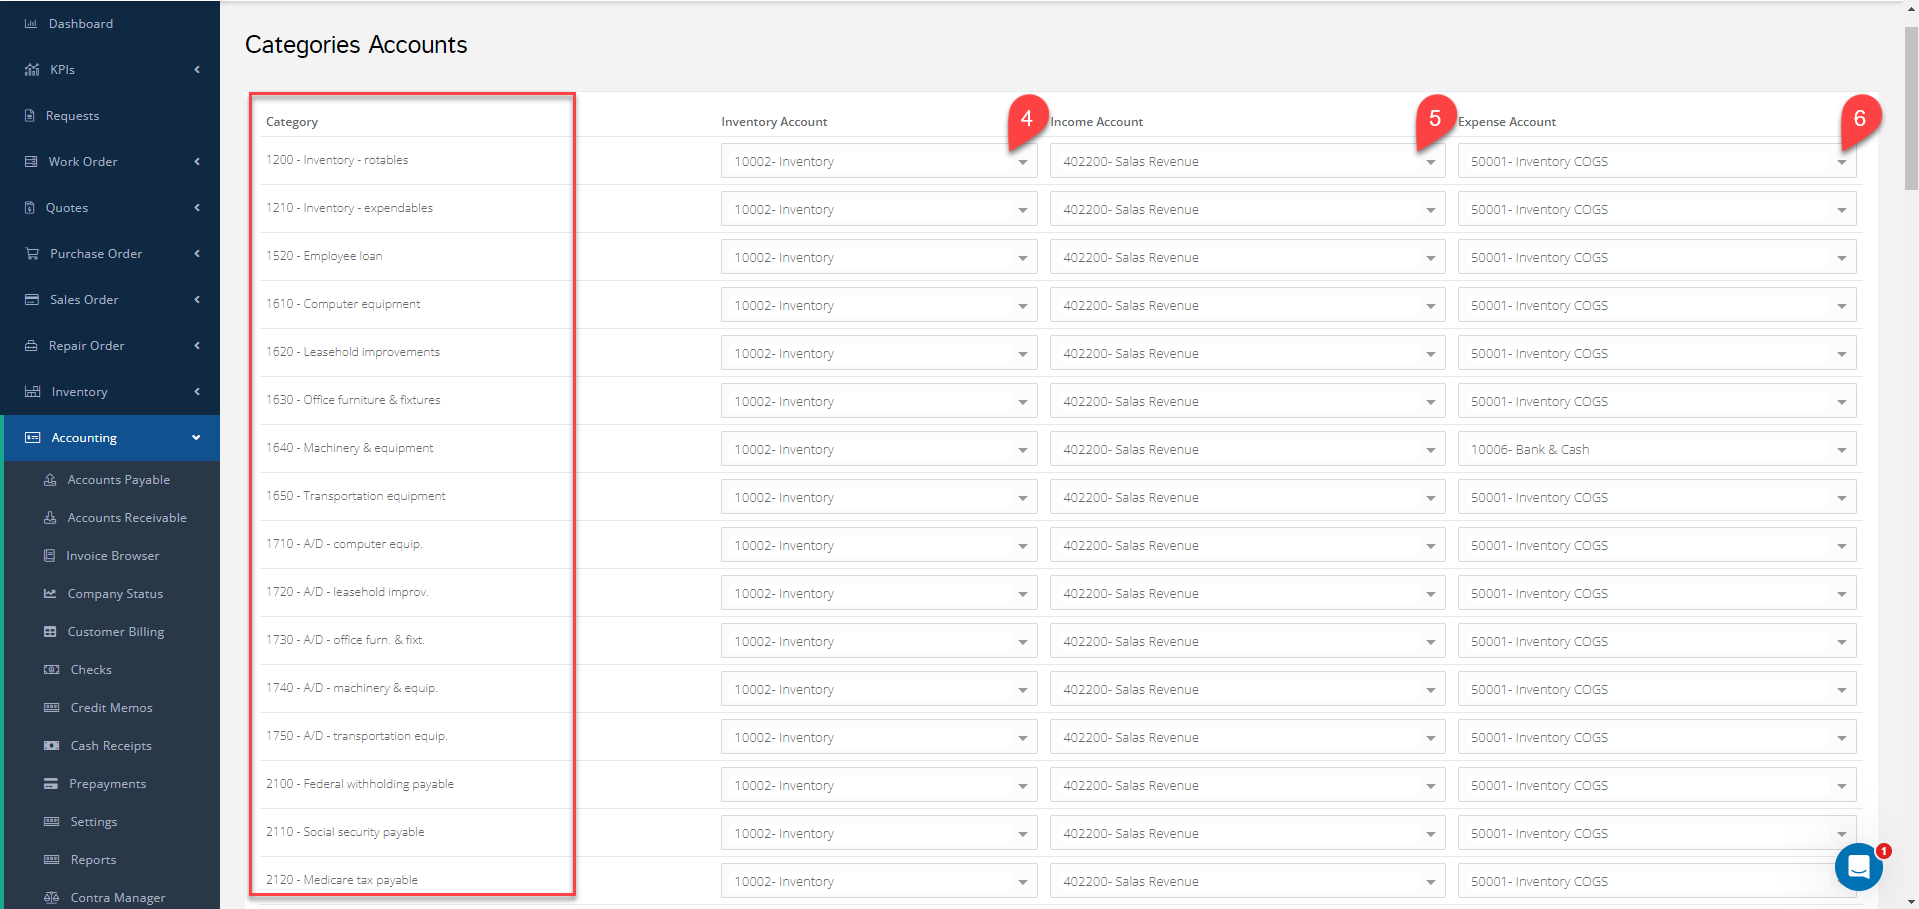
We can start with the accounts that will be linked with each inventory category.
To review or edit these associations:
Go to Accounting → Settings → Categories Accounts. There, you’ll find a list of all your categories, and you’ll be able to link each one to an Income, Expense, and Inventory Account — based on the Chart of Accounts you provide.
* Note: Inventory account: This is the account affected when a part enters or leaves inventory — for example, when it’s received, used, etc. Income account: This is the account affected when income is generated from the part, for example, when the part is sold. Expense account: This is the account affected when expenses are generated from the part, for example, when the part is purchased.
You can follow a similar process for Payment Methods:
Go to Accounting → Settings → Payment Methods. There, you’ll see your list of payment methods and can associate each one with the corresponding account.
And to configure your Default Accounts:
Go to Accounting → Settings → Accounts Default. This section allows you to specify which accounts will be affected by each system action — for example, your Accounts Payable (used to track money owed to suppliers) or Inventory WIP (used to track work-in-progress inventory). You can check the description next to each account name for additional details.
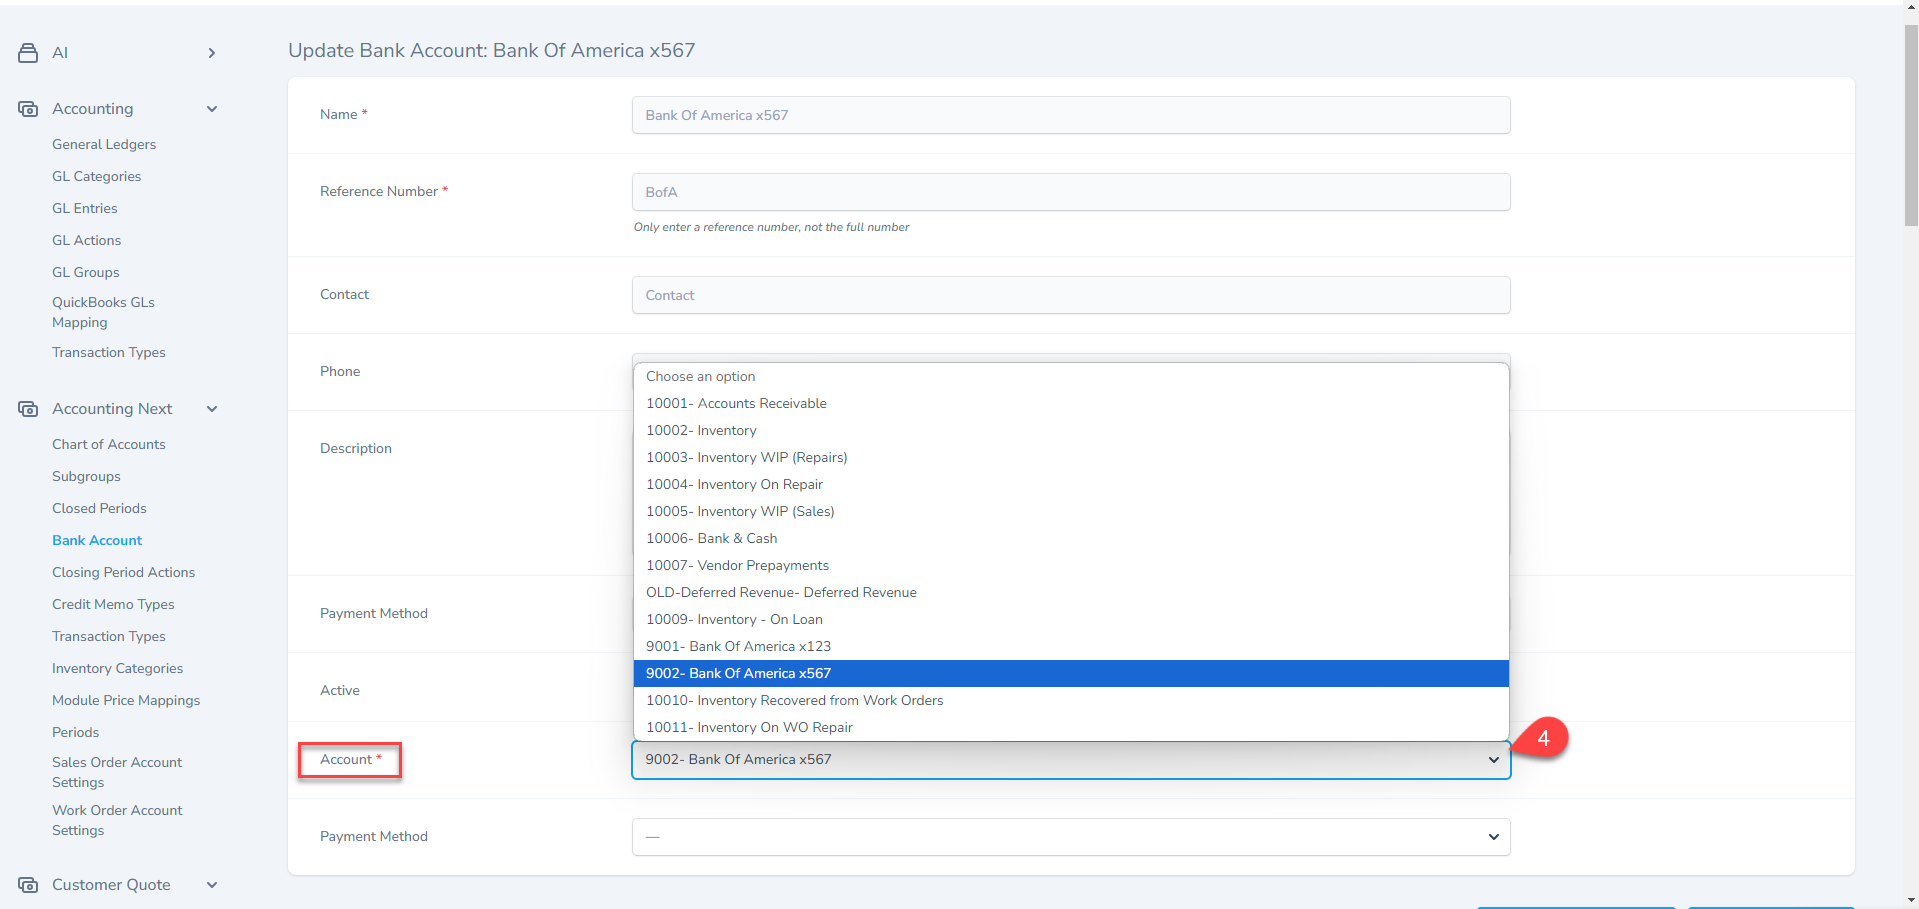
In case of your Bank Accounts (to select the accounting accounts that will be linked to each bank account), you will follow a slightly different process:
You can go to the Administration Panel → Accounting Next → Bank Accounts and edit each Account. In the Account section, you can create the link.
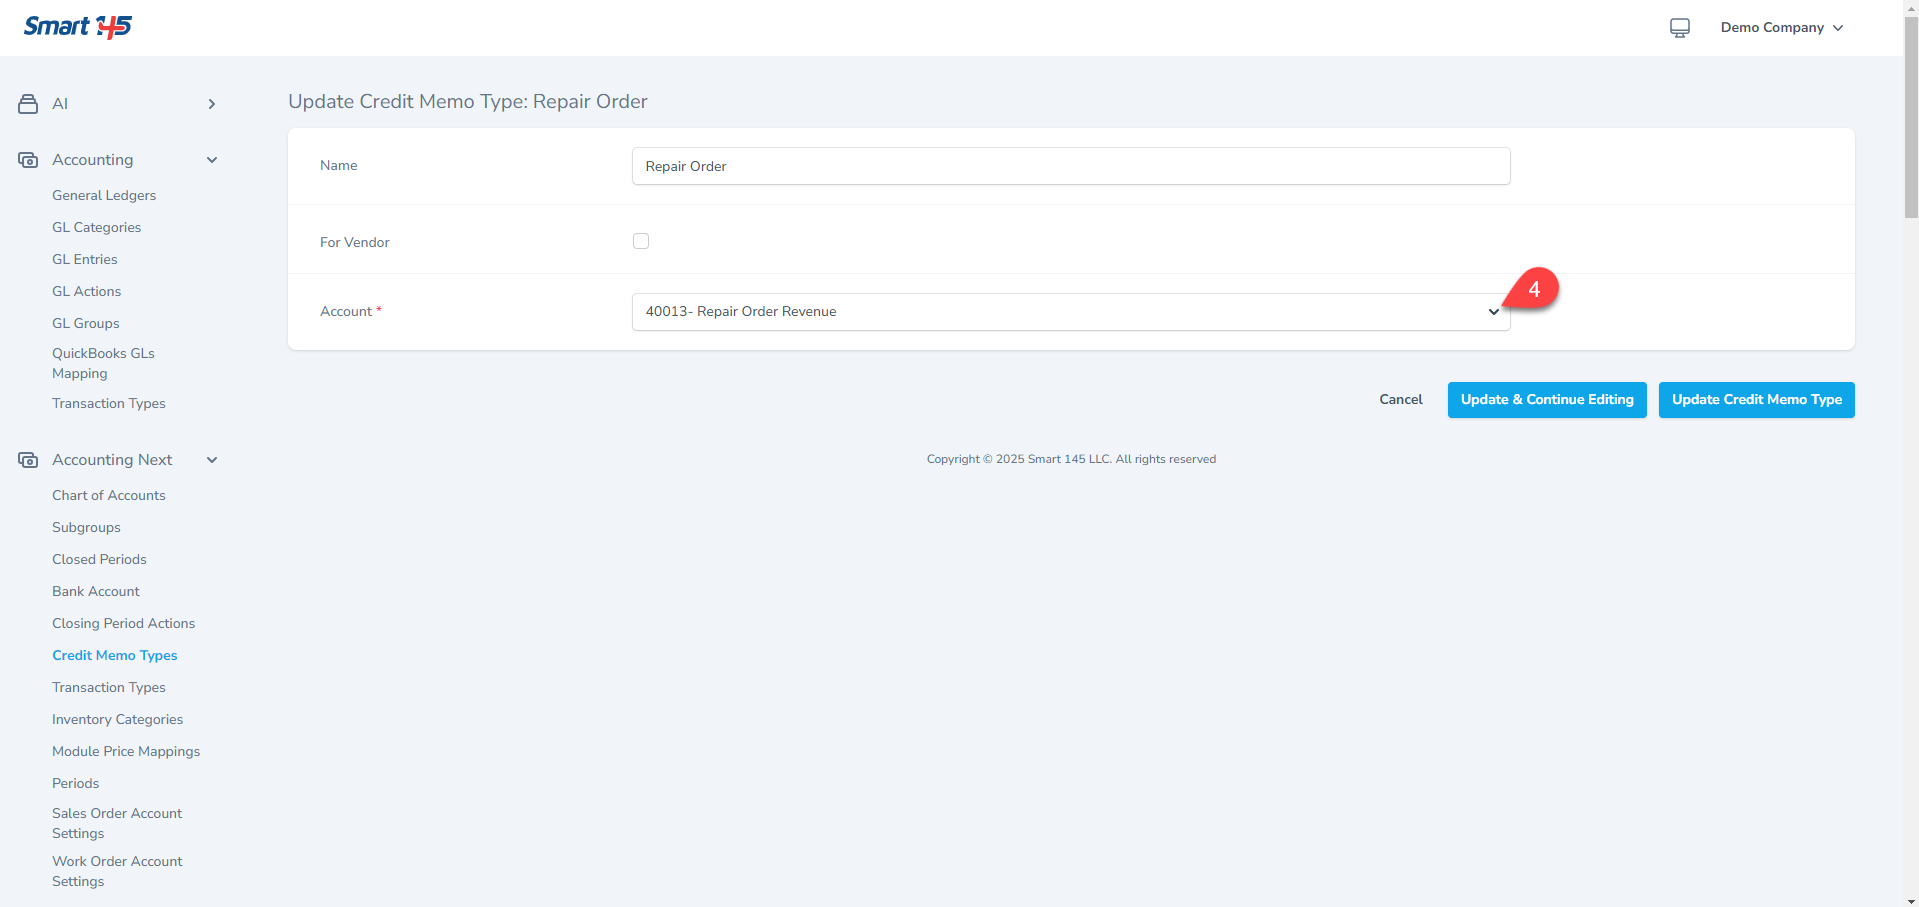
Next, you can follow a similar process to create your Credit Memo Types in the Administration Panel, and link them to your accounts
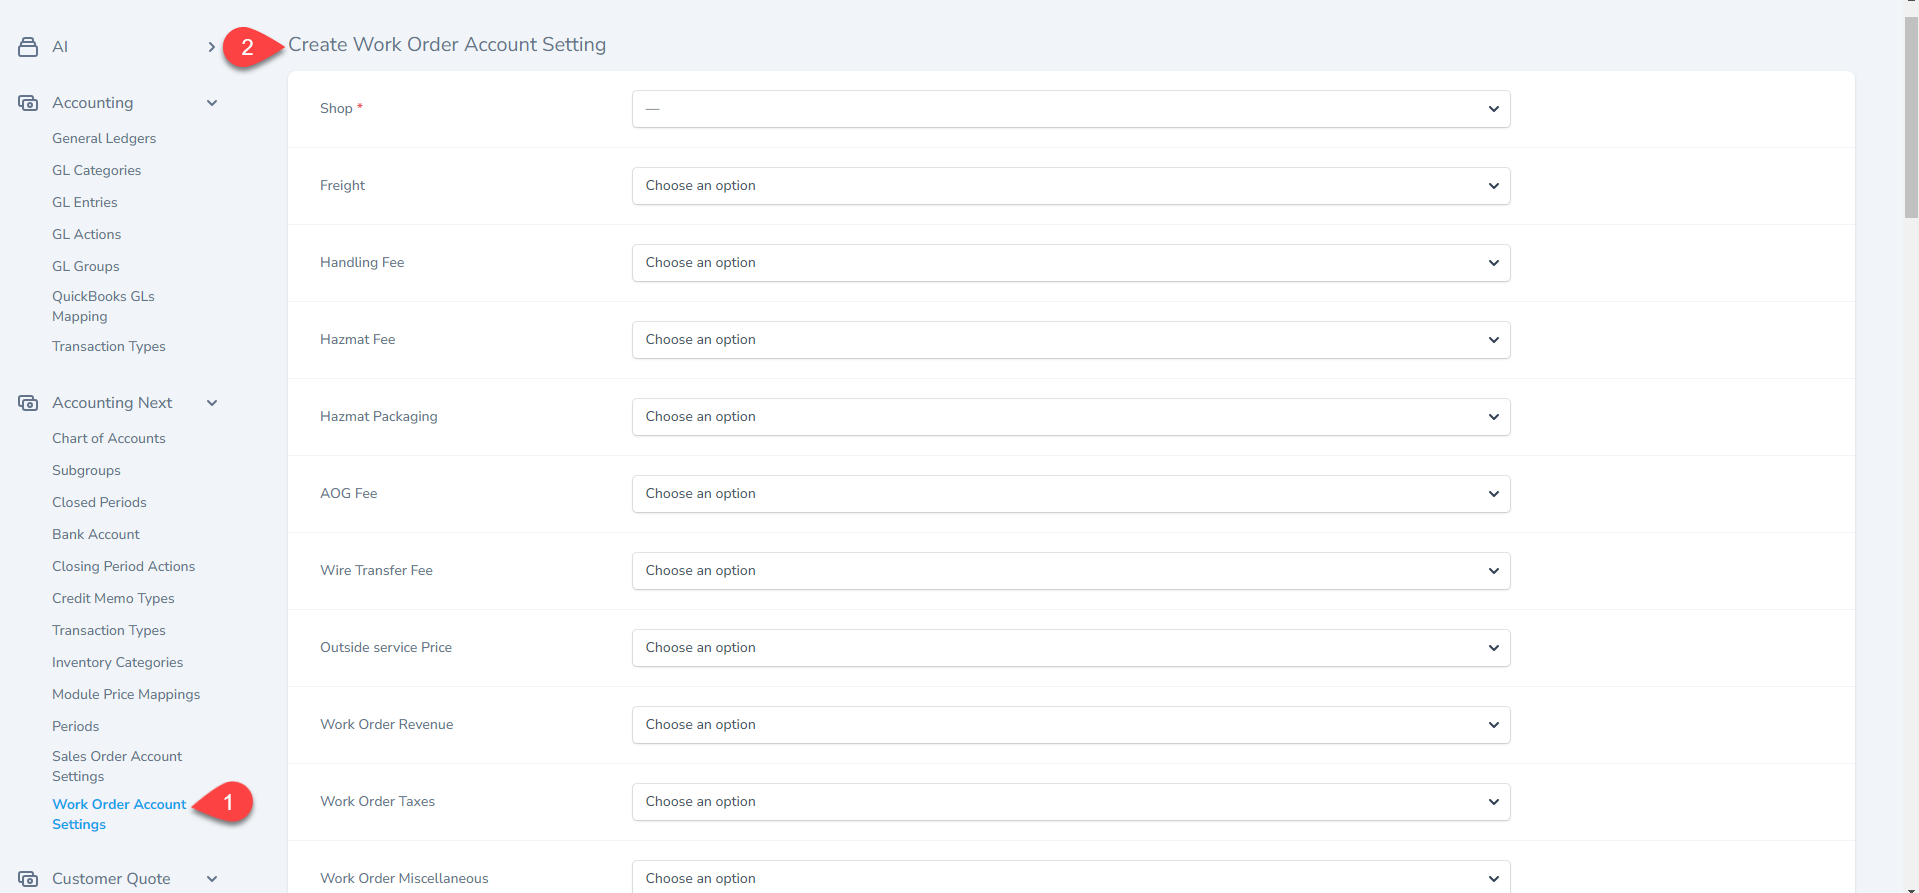
In the same Administration panel, you'll find a section named Work Order Account Settings, where you can define specific account configurations for each shop in the Work Orders and for Sales Orders:
As a final step, you can send us the up-to-date balance of each of your Accounts, so you can start with those balances in the system and ensure it matches your balances.